Reverse sear steak on the barbecue
Reverse sear is the most reliable way to cook a thick steak on an Australian backyard barbecue. Gentle heat first, a hard sear last, then a proper rest.
Mina Rahman, Technique editor · 14 February 2026 · 7 min read · 1,551 words
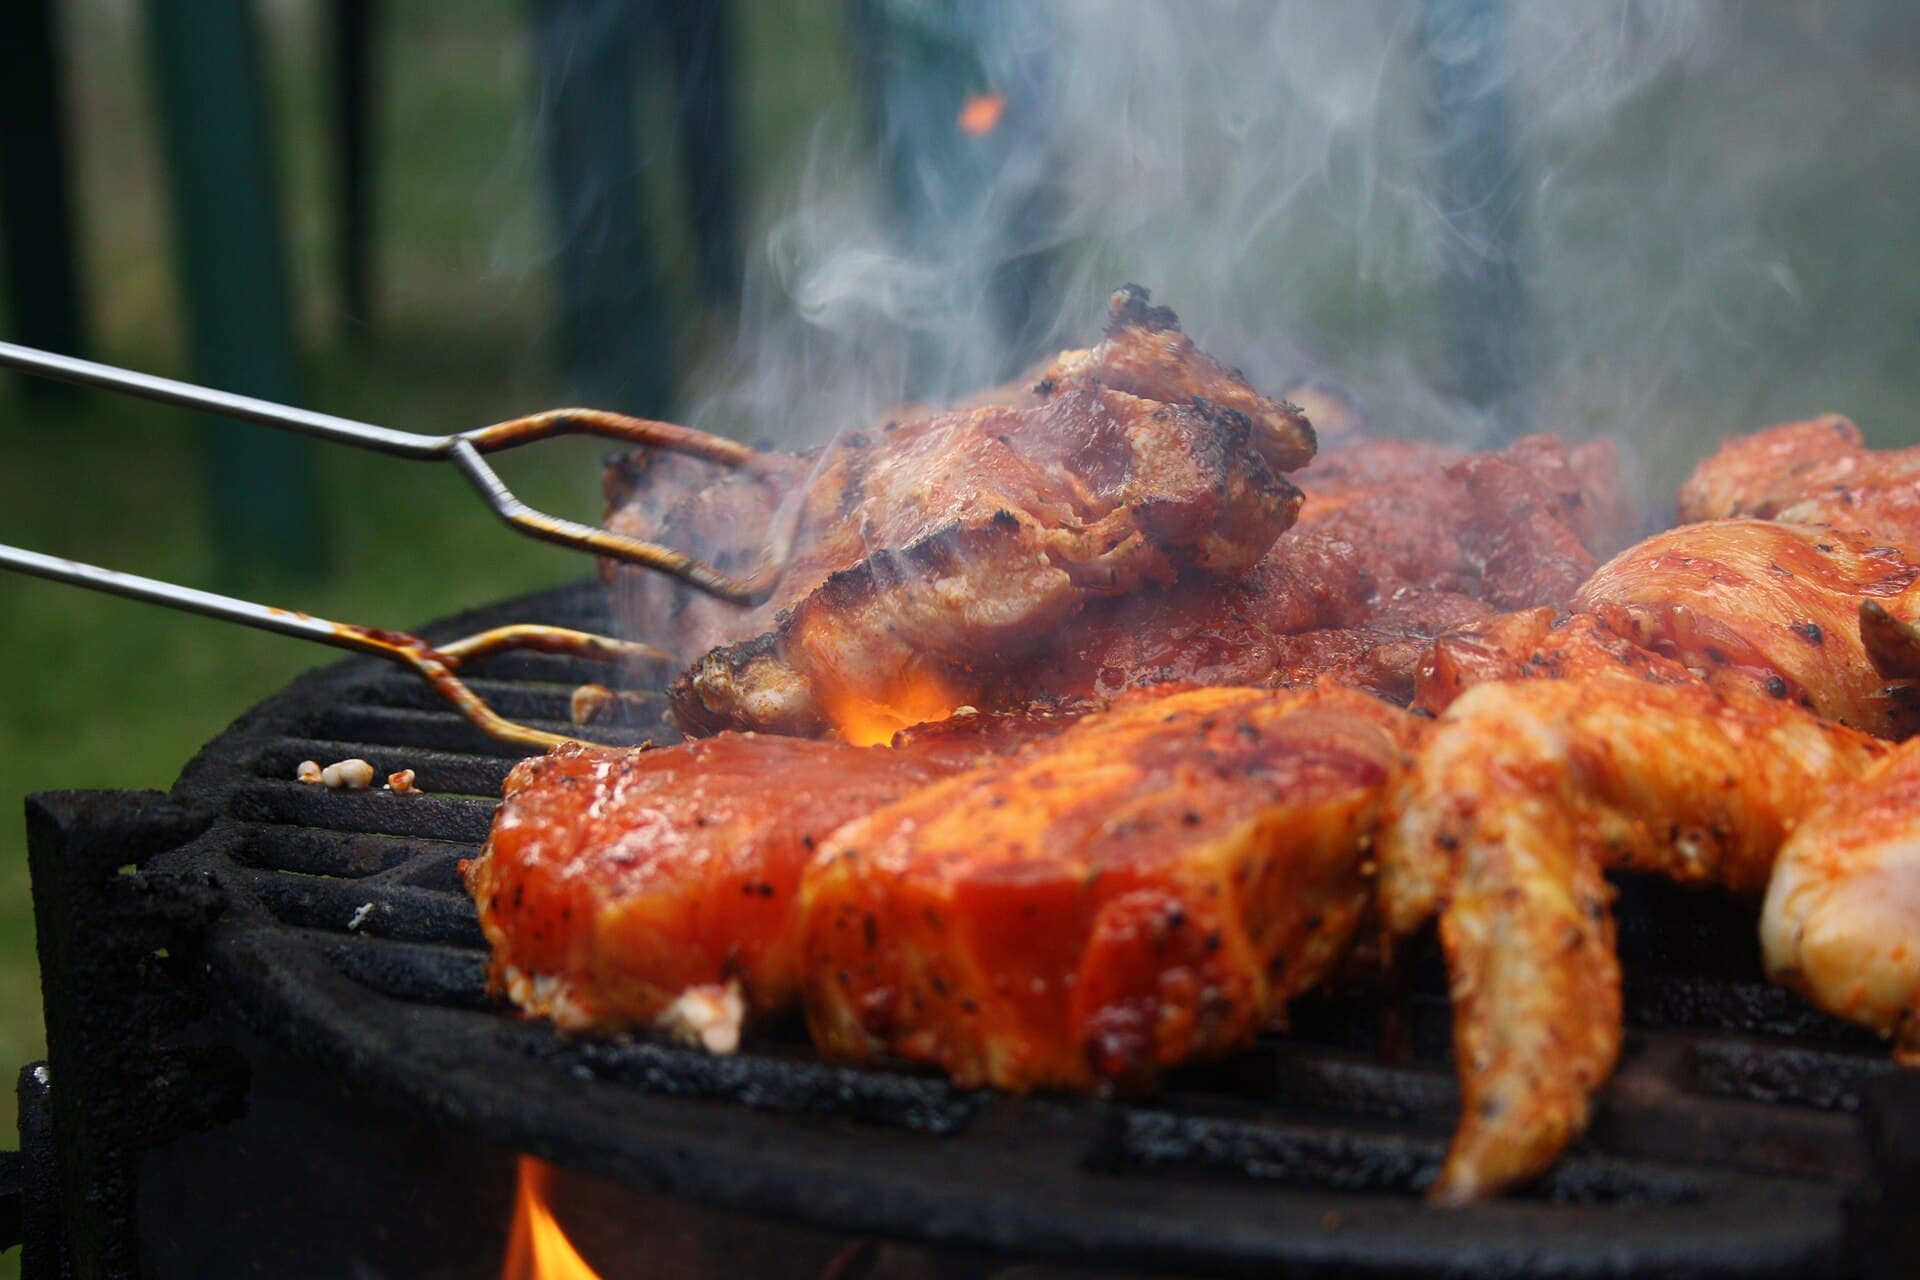
Photo: Steaks turned with grill tongs by Frettie. CC BY 3.0. Source: Wikimedia Commons. See image credits.

A reverse sear uses the two-zone fire most Australian barbecues already give you, then refuses to guess the centre of a thick steak. Cook the meat gently on the cool side until the inside is almost where you want it. Finish over savage heat for a crust. Rest. That is the whole technique.
Most ruined steaks here are a fire problem. People drop a scotch fillet onto a screaming-hot plate, close the hood because the wind is up, and hope. The outside blackens. The centre is still cold, or it gallops past medium while you turn snags. Reverse sear separates those jobs. If you have not yet set a two-zone fire, read indirect versus direct heat first.
Why reverse sear belongs on an Australian barbecue
Australian steaks sold as “barbecue” cuts are often 2.5 to 4 cm thick. Direct heat cooks the outer centimetre fast. The middle lags. By the time the middle is 54 °C, the band under the crust is grey.
Reverse sear flips the sequence. You bring the whole steak up slowly, so the gradient from edge to centre is small. Then you sear for colour and flavour, not to cook it through. The crust happens at the end, when you can watch it.
The method also suits our weather. A hooded barbecue in a south-westerly can still hold 110 to 130 °C on the indirect side if you leave a burner off and keep the lid down. That is enough to finish the inside without burning the fat cap.
Patience on the cool side is the whole method. The sear is only a minute or two.
A BeefEater or Matador four-burner with a hood is plenty. So is a Weber kettle with coals banked to one side, or a kamado with a deflector. What you need is a probe and the discipline not to sear first out of habit.
Build a two-zone fire
Two zones means a hot side you would not leave your hand over, and a cooler side that will not scorch a steak in five minutes. On gas, light one or two burners and leave the rest off. Put the steak over the unlit side. Close the hood. You are roasting, not grilling, until the last step.
On a four-burner, light the two left burners and leave the right side off. If the day is cold, light three. A grate-level reading of 110 to 140 °C on the cool side is the first-stage target. The lid thermometer reads air at the hood, not the steak.
On charcoal, bank lit heat beads or lump to one side. The steak sits over the empty grate with the lid on and the vents half open. How to light and control a charcoal grill covers the lighting sequence. Kamados want a deflector and a dome around 120 °C; open the vents later for the sear. On a small offset, park the steak closer to the firebox than you would a brisket, still out of flame.
Without a hood, reverse sear is harder. You lose the gentle oven. Use a thicker steak and keep it further from the coals. Hood versus open grill in Australian wind is worth reading before you blame the meat.
Internal temperatures in Celsius
These are working Celsius targets for beef steak, measured in the thickest part, away from bone and large seams of fat.
- Rare: pull at 48 to 50 °C, rest to about 52 °C.
- Medium-rare: pull at 52 to 54 °C, rest to about 56 °C.
- Medium: pull at 58 to 60 °C, rest to about 62 °C.
- Medium-well: pull at 63 to 65 °C. Past this, reverse sear is wasted on a good scotch.
The carry-over on a reverse-seared steak is smaller than on a steak seared from fridge-cold, because the centre is already close to the finish. That is why you pull only a couple of degrees early, then sear. If you pull at 46 °C and then spend four minutes searing, you will overshoot.
Probe from the side, not from the top, on a thick steak. You want the tip in the centre of the muscle. If you have a scotch with a fat cap, avoid parking the tip in the fat. Fat reads hotter and will lie to you.
Do not cook by colour. A hooded barbecue will brown the surface before the centre is ready. If someone needs steak well done, use a thinner cut over direct heat. Reverse sear on a well-done brief just dries the outer band.
The slow side first
Take the steak out of the fridge 20 to 30 minutes before it hits the grate if the kitchen is not a heatwave. Pat it dry. Moisture on the surface delays the later crust. Salt it early enough that the salt has started to dissolve — 40 minutes is useful, overnight in the fridge is better if you have planned dinner. A dry surface and dissolved salt matter more than any marinade versus rub argument for a thick steak.
If you do use a rub, keep sugar low for this method. Sugar on the cool side is fine. Sugar on the sear will blacken in seconds. Pepper can go on before or after the sear. It burns if you toast it too hard.
Set the steak on the cool side. Close the hood. Leave it alone. A 3.5 cm scotch on a 120 °C indirect side often wants 20 to 35 minutes to reach the pull temperature. A 5 cm rump or a thick porterhouse can want 40 minutes. These are ranges, not promises. Wind, hood seals, steak starting temperature and fat cover all move the clock.
Turn once halfway if one face is clearly paler. You are not marking it yet. You are equalising. If fat is rendering onto the unlit burners, you are fine. If fat is dripping onto coals and flaring under the steak, you have parked it too close to the fire. Move it.
When the probe hits the pull number, take the steak off onto a cool plate for a minute while you open the hot side. On gas, turn the sear burner or the lit burners to high and give them two or three minutes. On charcoal, open the vents and set the grate back over the coals. You want the hot zone ugly.
The sear
The sear should be short and watched. Oil the steak lightly, not the whole grate, if it looks dry. A thin film is enough. Lay the steak over the hottest part. Do not walk away.
On a cast hotplate, you will get a more even crust and fewer flare-ups. On open grates over charcoal or gas, you will get bars and more flavour from dripping fat, and more risk of a grease flare. If a flare starts, move the steak to the cool side for ten seconds, then back. Flare-ups, hot spots and grease fires are a separate problem. Do not spray water on a grease fire.
Sixty to ninety seconds per side is common on a properly hot zone. Press only to check contact, not to squeeze juice. If you want cross-hatch marks, turn 45 degrees once per side. If the fat cap is thick, stand the steak on that edge for 20 to 30 seconds so it renders and browns.
This is also when people undo the work. They sear for five minutes “to be sure”. The centre climbs. Trust the probe you already used. Baste with butter and herbs on a plate off the fire, not in a puddle on the grate.
Rest, slice and serve
Rest on a warm plate, not a cold sink. Tent very loosely with foil if the wind is stripping heat, but do not wrap tightly. Tight foil steams the crust you just made. Five to eight minutes is enough for a single steak. A thick sharing cut can take ten.
Slice across the grain. On a rump or a bolar, that grain changes direction — look before you commit the knife. On a scotch, the grain is obvious. Salt again only if the first salting was shy. A little extra-virgin olive oil or the resting juices are plenty.
Sides should already be waiting. Reverse sear punishes a cook who starts the salad after the sear. For a crowd, hold several steaks on the cool side, probe them in turn, and sear in batches of two — see how to host a backyard barbecue for a crowd.
Mistakes that undo the work
A wet steak will steam, then burn. Pat marinades dry. A steak thinner than 2.5 cm has no time for two stages — cook it hot and fast instead. Guessing the centre is the usual failure; a Jumbuck lid thermometer is not a steak probe.
Searing first “to lock in juices” is folklore. You can cook a good steak that way, but you will get a wider grey band. In January, a heatwave changes how long you want to stand at a hood. Cooking through an Australian heatwave is the seasonal companion. On a total fire ban, you may not be lighting charcoal at all.
Learn the method on one thick scotch on a Saturday. Then it becomes the default for any steak that deserves more than a hotplate and hope.
Questions readers ask
- How thick does a steak need to be for reverse sear?
- Work from about 3 cm up. Thinner steaks cook through before you have time to manage two zones, so they belong over direct heat with a shorter rest.
- Can I reverse sear on a two-burner Weber Q?
- Yes, if you run one burner and leave the other off. Keep the steak on the unlit side with the hood down, then move it over the lit burner for the sear.
- Should I rest steak after a reverse sear?
- Yes, but briefly. Five to eight minutes on a warm plate is enough. The meat has already spent time climbing slowly, so a long rest cools the crust.
- Do I need a probe thermometer?
- A cheap instant-read probe is the whole method. Colour on the outside tells you almost nothing about the centre on a hooded barbecue.
Keep reading
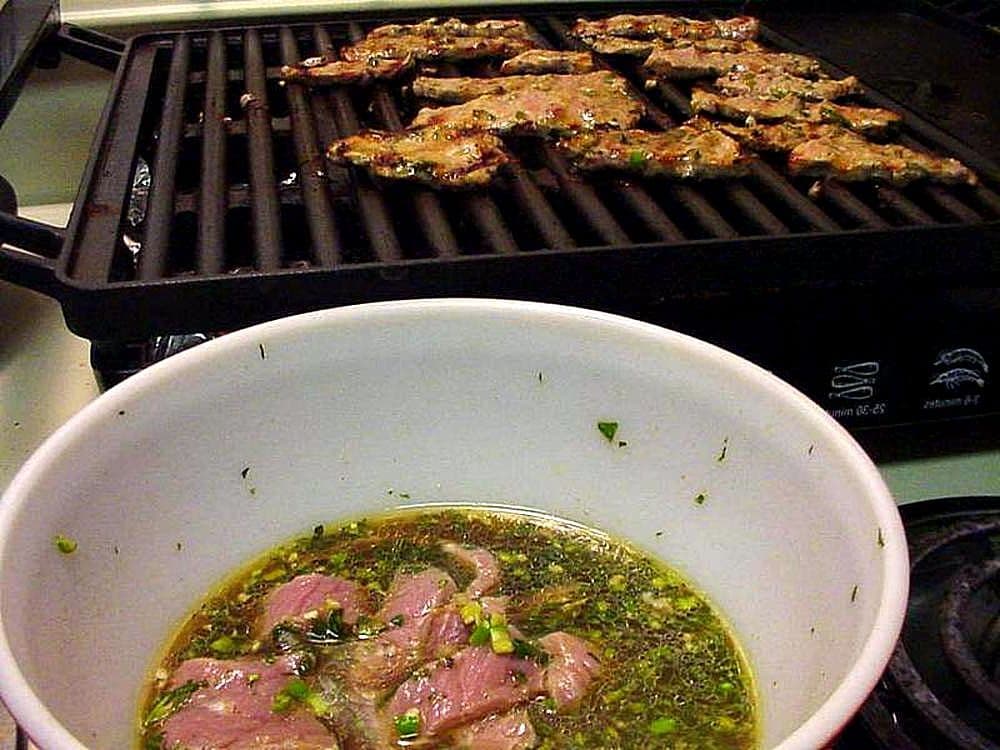
Marinades versus rubs for Australian barbecue
A rub seasons the surface and helps a crust. A marinade flavours and can tenderise the outer layer. Most Australian backyard cooks need less liquid and more salt than they think.
Jess Nguyen · 28 March 2026
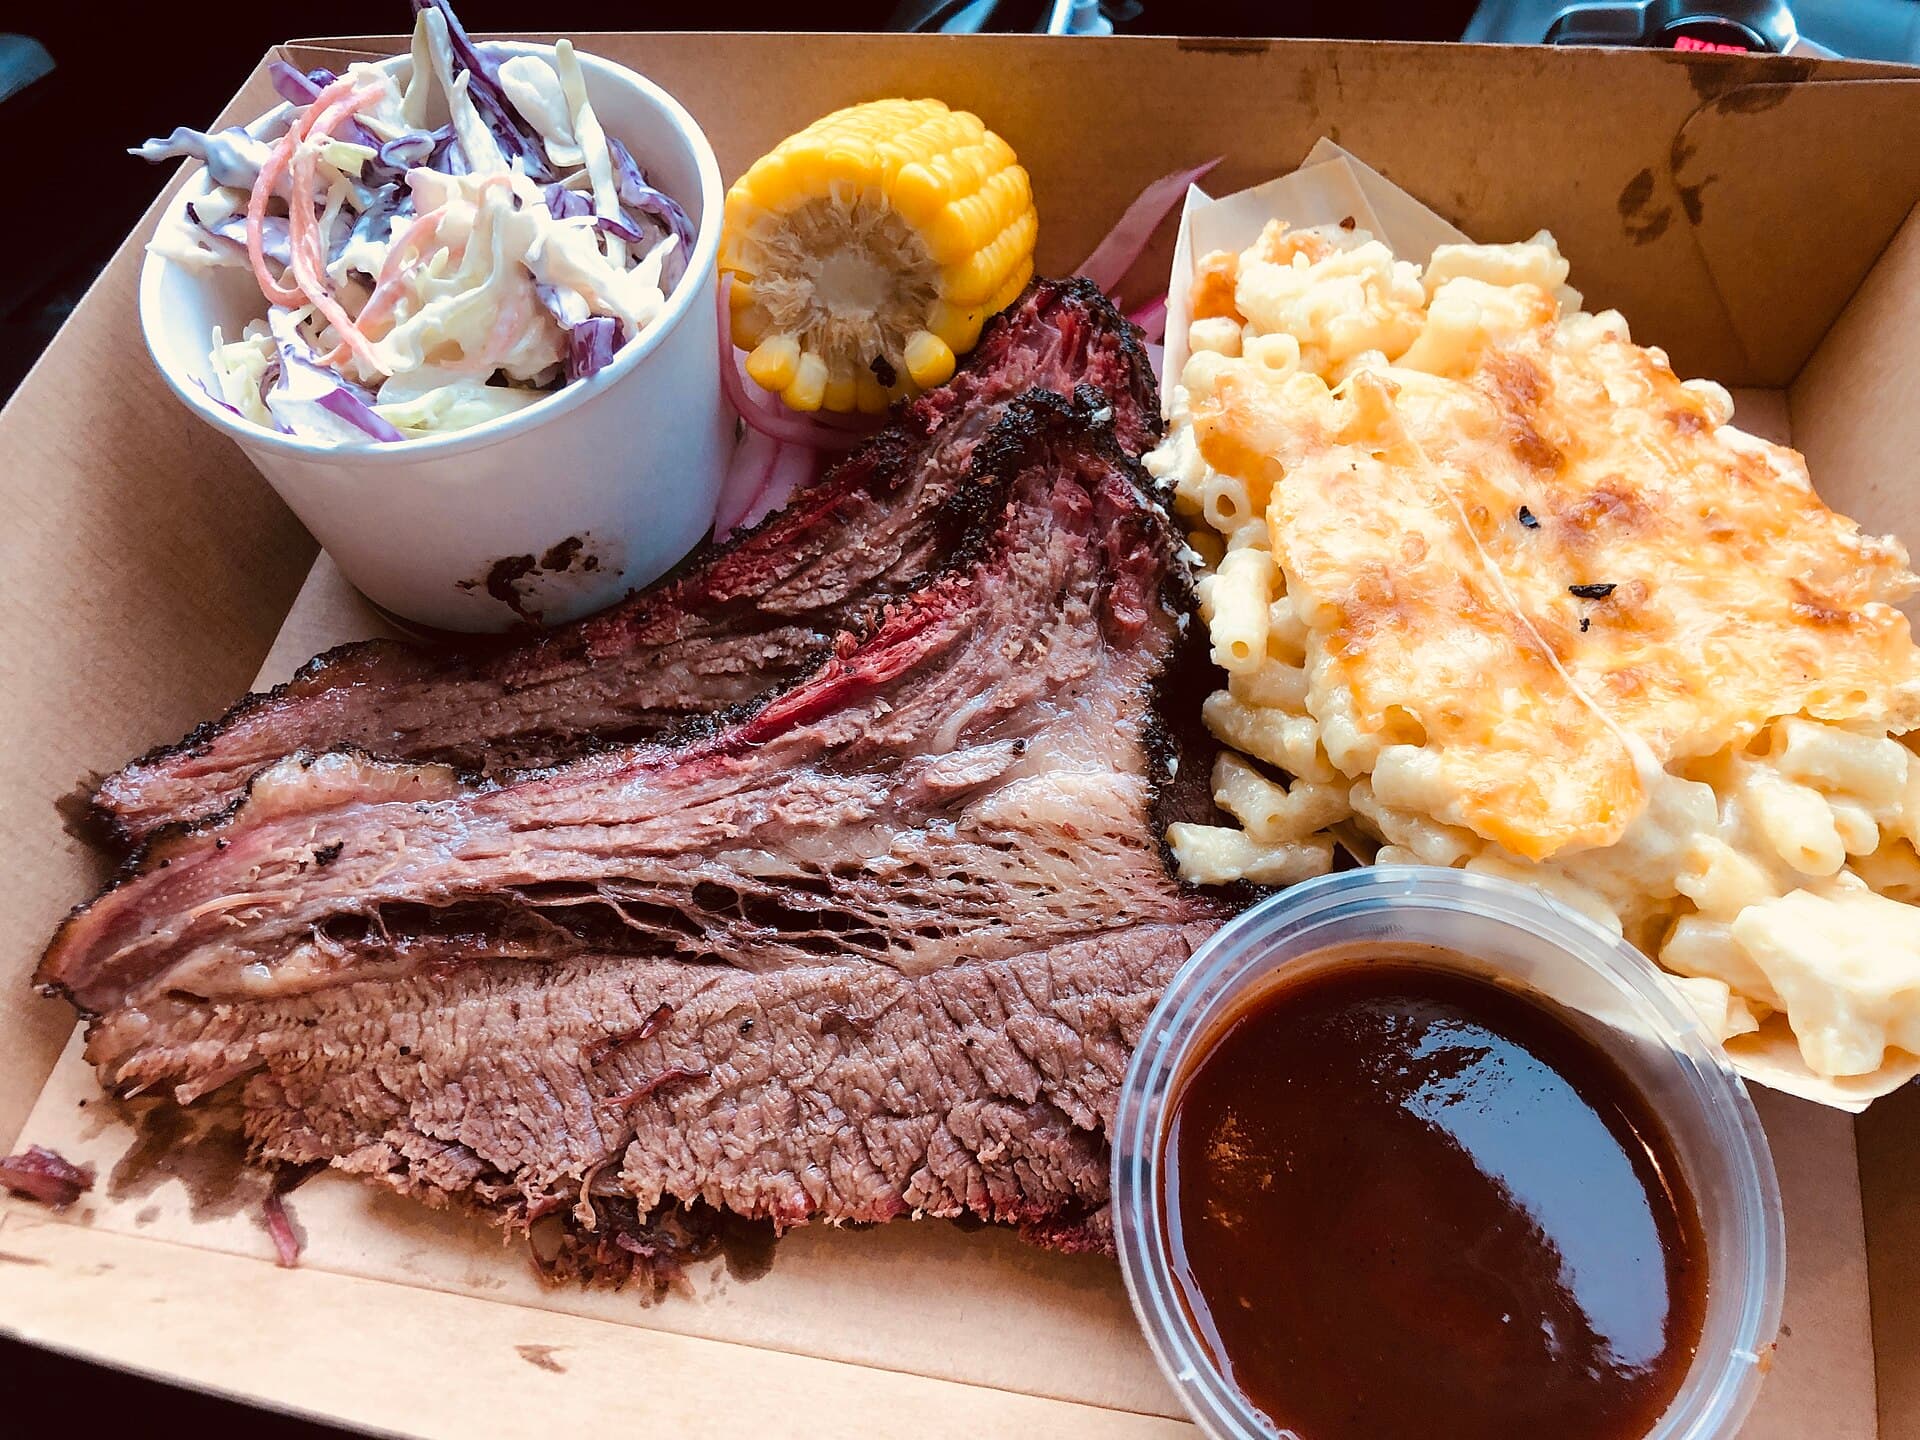
Low and slow brisket in an Australian backyard
Texas brisket advice assumes dry air and a large offset. Australian backyards have humidity, small smokers and neighbours. Here is the honest version of the long cook.
Mina Rahman · 18 March 2026
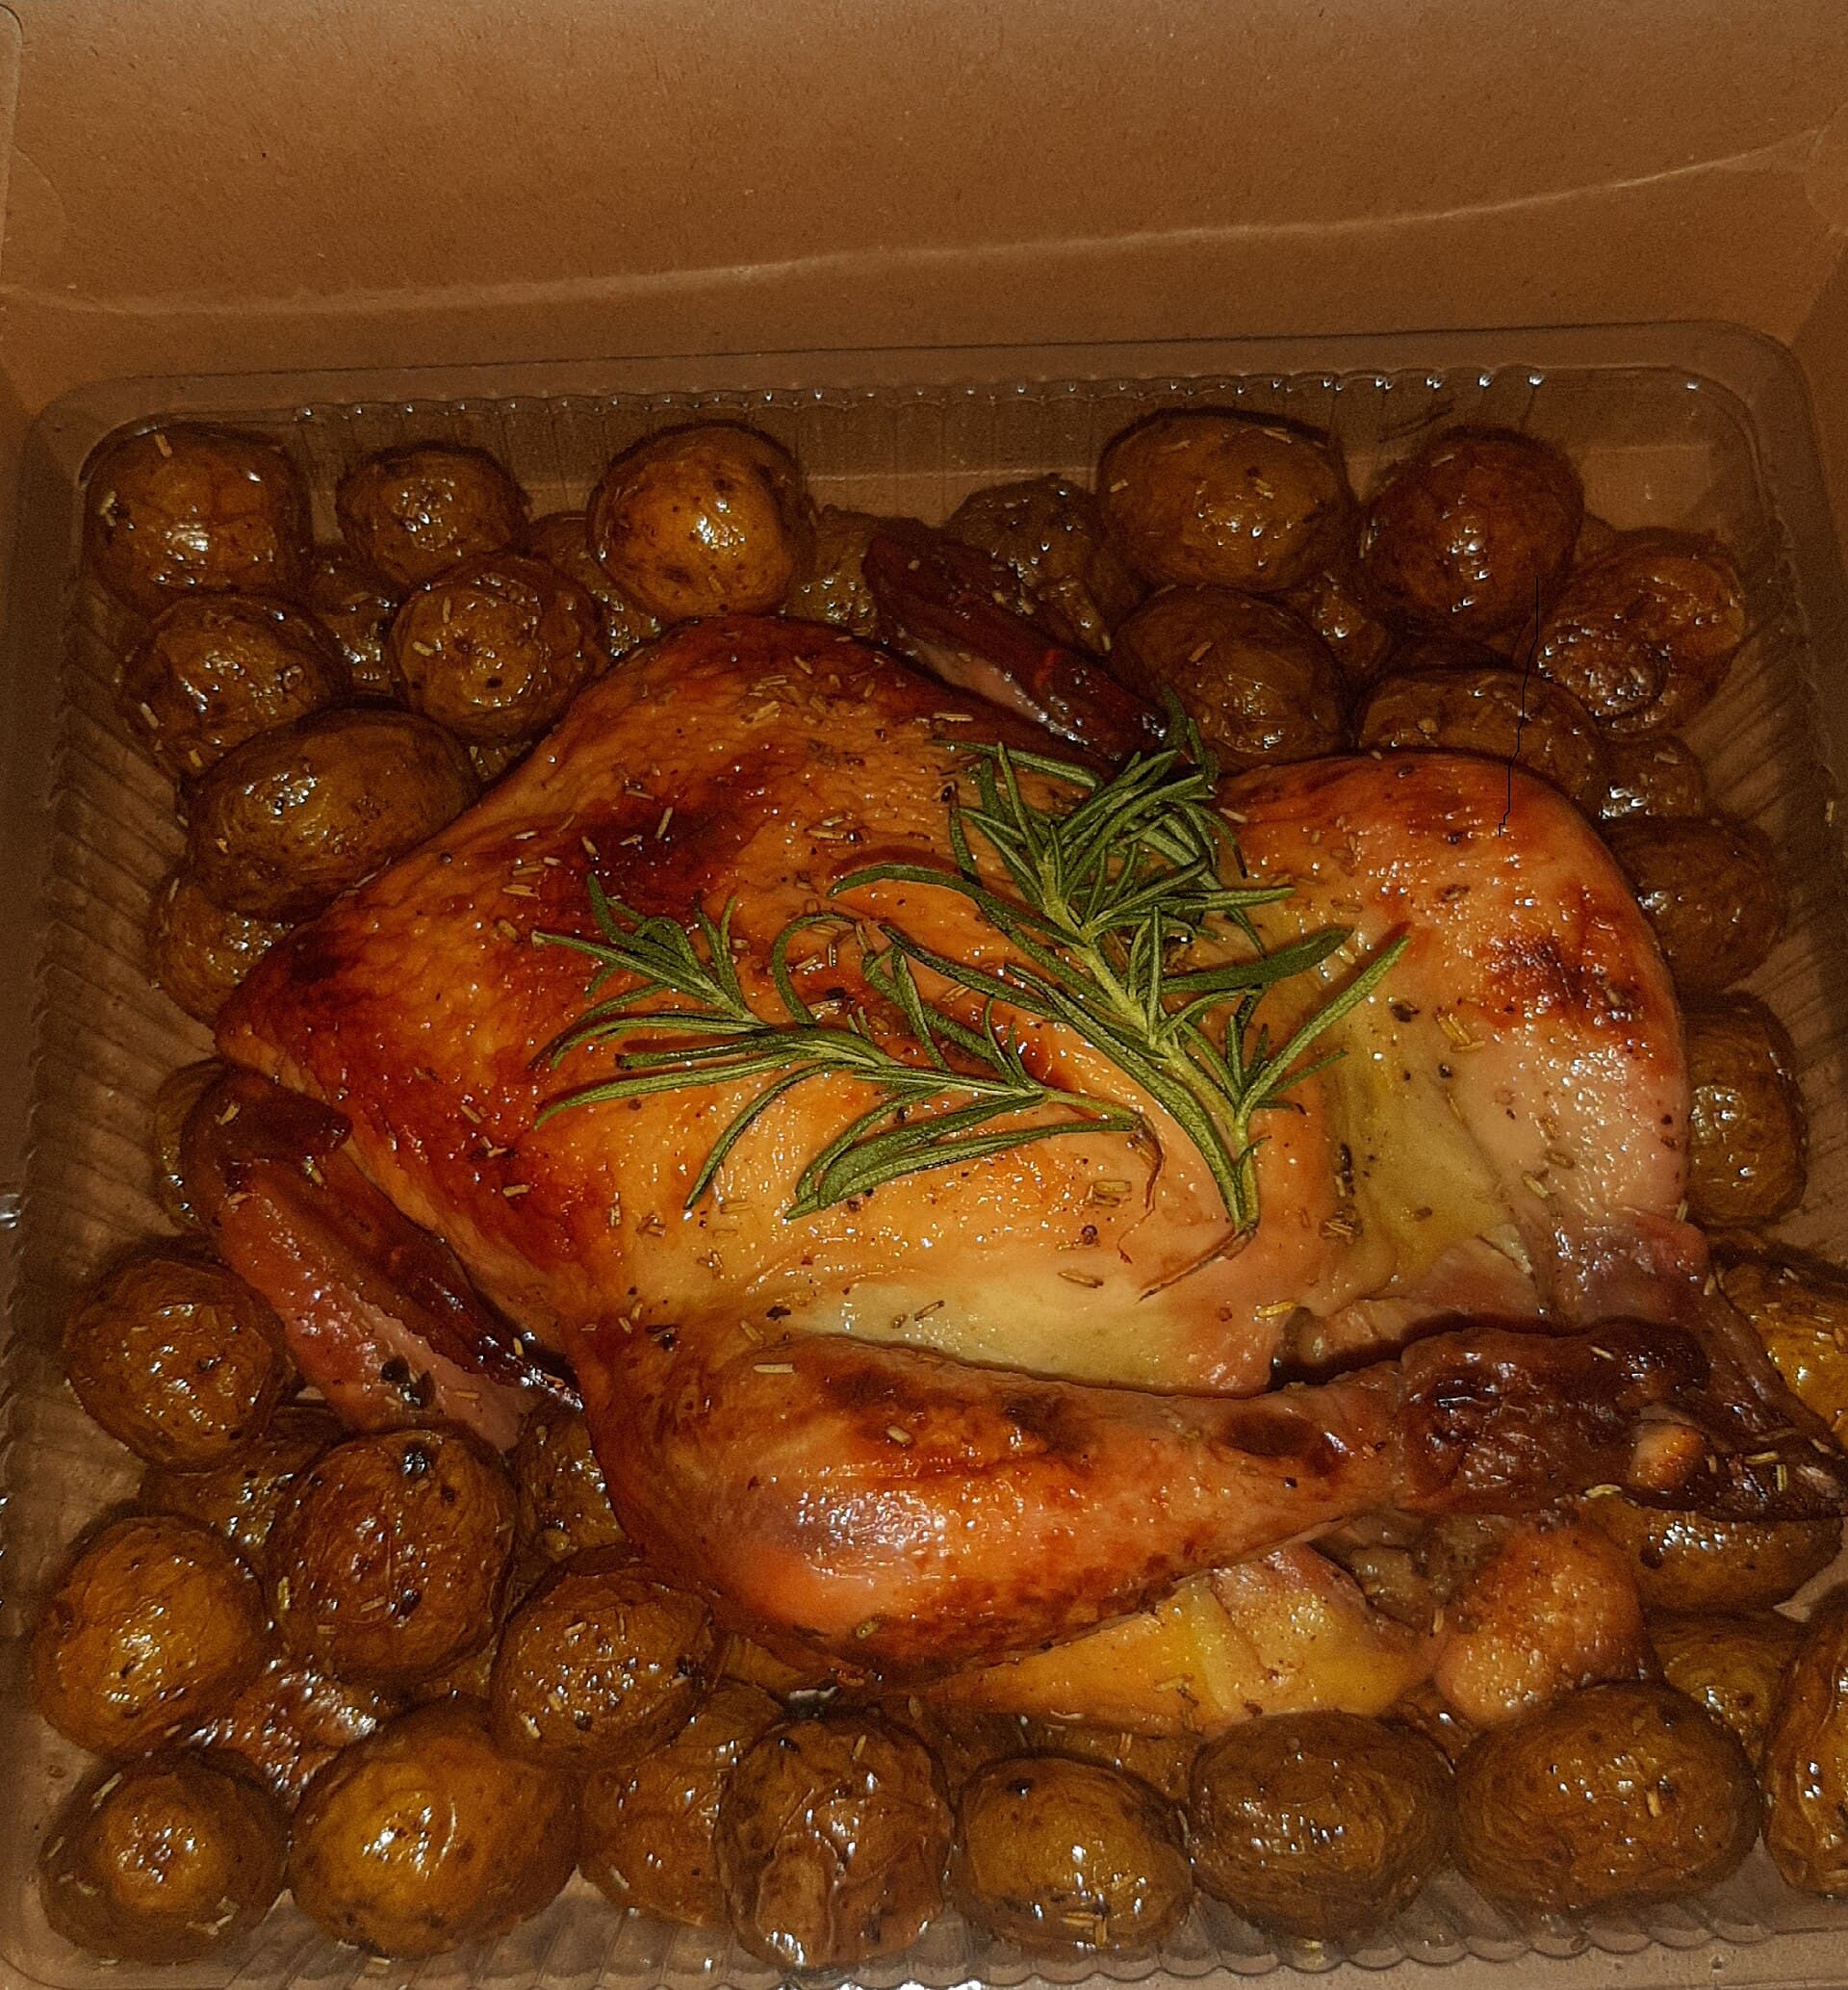
How to barbecue a whole chicken
A whole chicken on an Australian barbecue wants indirect heat, dry skin and a probe in the thigh. Spatchcock it if you would rather eat on time.
Jess Nguyen · 8 March 2026